Setting up Sparkfun’s IoT DataLogger
03/05/2023
Sparkfun recently released a little computer with modular sensors that can easily send data via WIFI with minimal set up. The device comes with some firmware already installed that will write sensor data to an output like the SD card or WIFI. You can configure the device via serial connection. It’s a pretty nice package if you want to play around with some sensor data but don’t want to fiddle with writing firmware or soldering.
The basic idea for this minimal set up is:
- Configure and set up the datalogger device
- Run a http server on my wifi network
- Send some data to the http server from the datalogger
Minimal set up
I’m basically following the official guide, but here’s a condensed version of what I did to get up and running
Install and run coolterm
Make sure you select USB serial in the bottom left
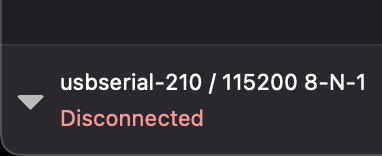
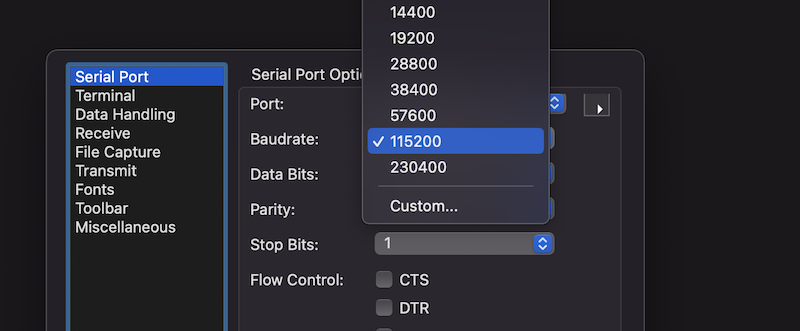
Change baudrate in the serial port options to 115200
 Press connect
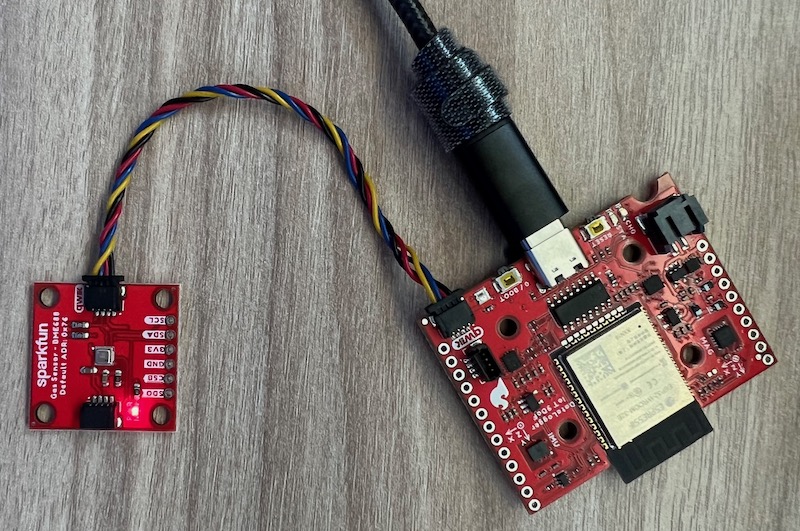
Connect Hardware
Add SD card to the device.
Add any qwiic sensors you want, I added the BME688.
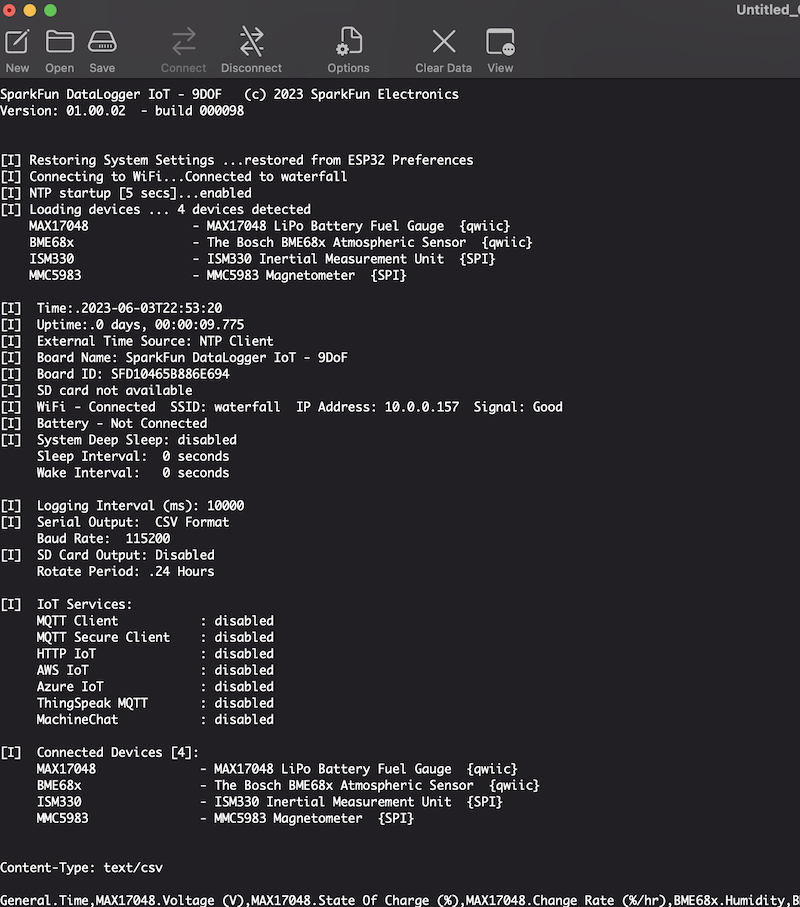
Connect USB-C from mac to data logger. You should see something like this in coolterm if everything went correctly:
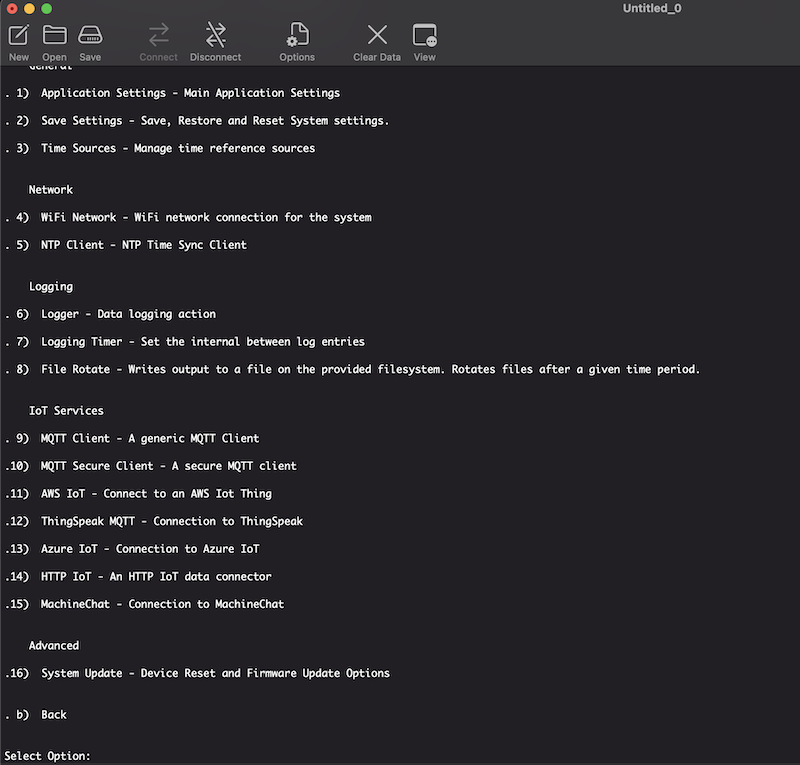
Configure the device
The firmware sparkfun has installed on the device lets you configure the device by sending data via the serial connection. The options are described in detail here.
e.g to configure the wifi network name you type ‘1142’
Be sure to back out of the options and exit the configuration mode otherwise the options will not save. In practice this means sending ‘b’ until the device resets.
This is what I configured specifically:
- add wifi settings and password (I did this first so that the device can set the clock)
- update firmware via OTA
- add timestamp with tz to the log output
- set logging interval to 10000ms
- enable HTTP IoT thing and set the server url (the device will make a HTTP POST request on every log event)
Once the device is configured we can now start logging some data!
Logging to the SD Card
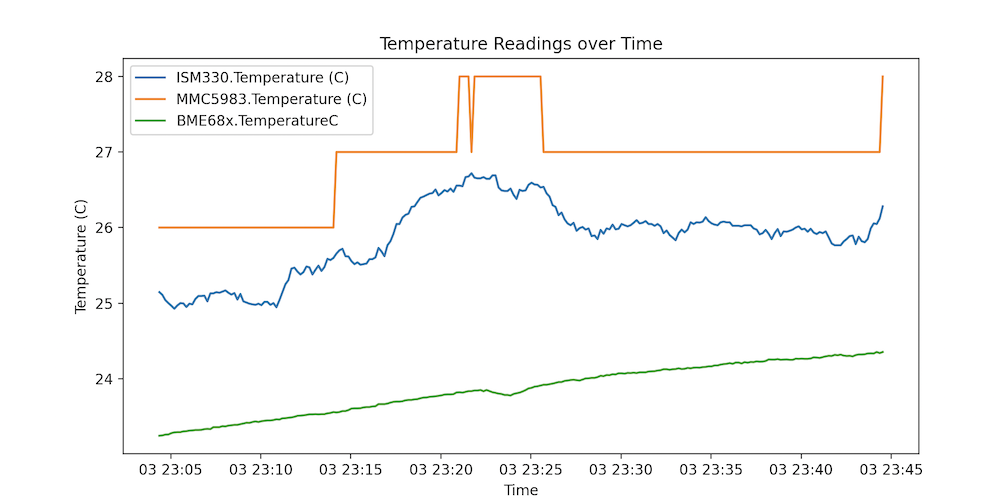
Before sending data to a http server I tested the device was logging data correctly to the SD card. To do this you need to make sure the sd card is formatted correctly, seated in the device and that the device is configured to write to the sd card. You then simply connect the usb-c or a battery, and the device will start logging to the SD card.
By default the data is logged in CSV format. Here’s the plot of the various temp sensors while the device was in my office:
Logging to the HTTP server
Make sure you have configured the HTTP IoT service on the device correctly. Then start a HTTP server with the correct URL, a simple python flask server like this will work.
Reset the device and if all works well you should see this in your server!

But why?
As a new father, I was feeling anxious and worrying (irrationally) about SIDS. I wanted something simple to detect movement in the crib, like breathing. I ruled out Owlet and Nanit because they seem overly complicated and reviews are mixed. I think I found what I wanted in babysense. But I took a step back and thought, do I really need this? And can I build it myself? My conclusion was, I don’t need it and I won’t be able to build something pragmatic, but I can hack something together for fun! And that is how I ended up buying this data logger. Also, I’ve learned a lot of companies try to make money from anxious parents.
What’s next
I’m going to try a micro pressure sensor to see if it can pick up a breathing signal. I tried the built in accelerometer, but afaik it’s just not sensitive enough to pick the breathing signal when just stuck under the crib. You can see my feeble attempts at detecting a signal here